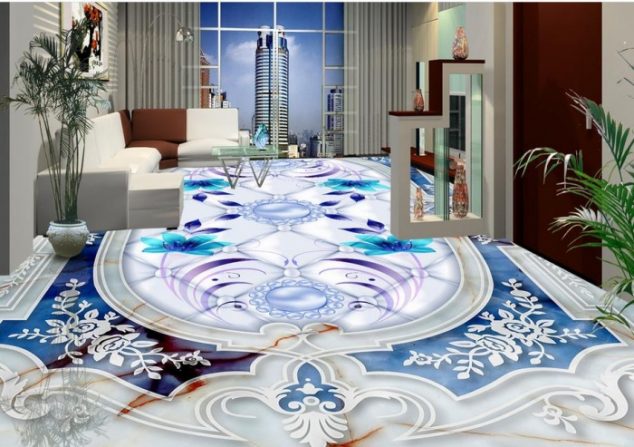
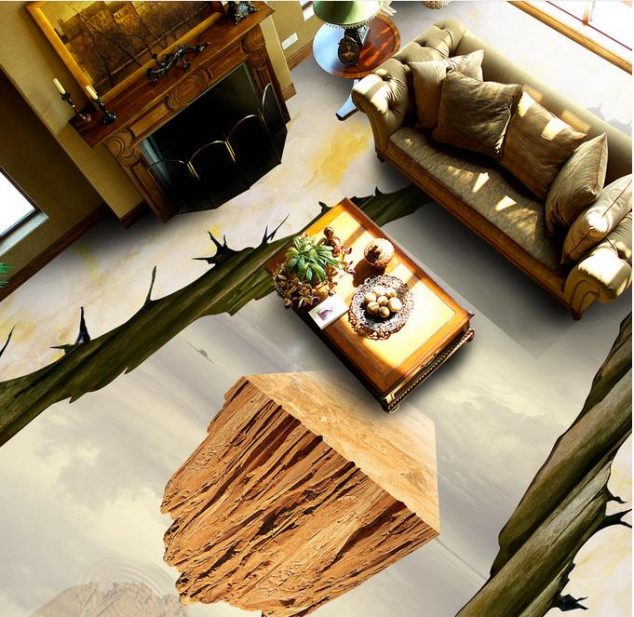
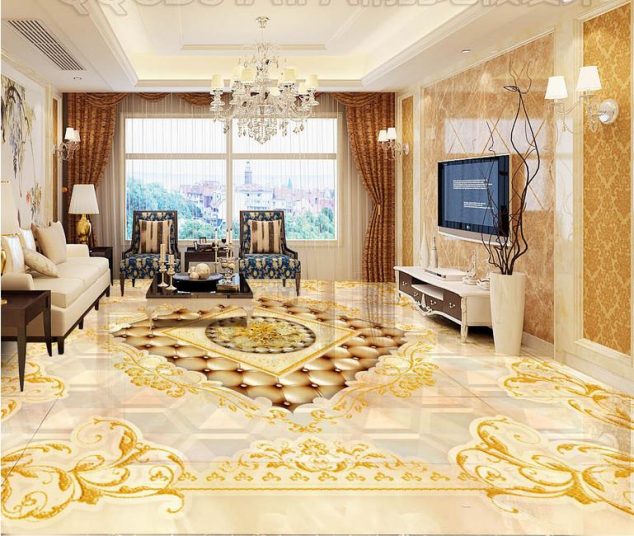
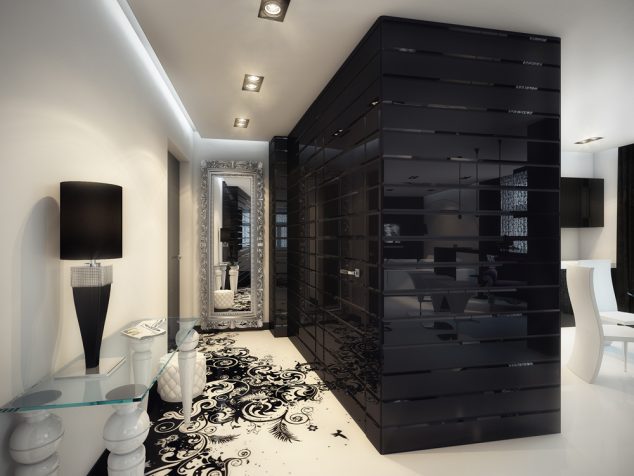
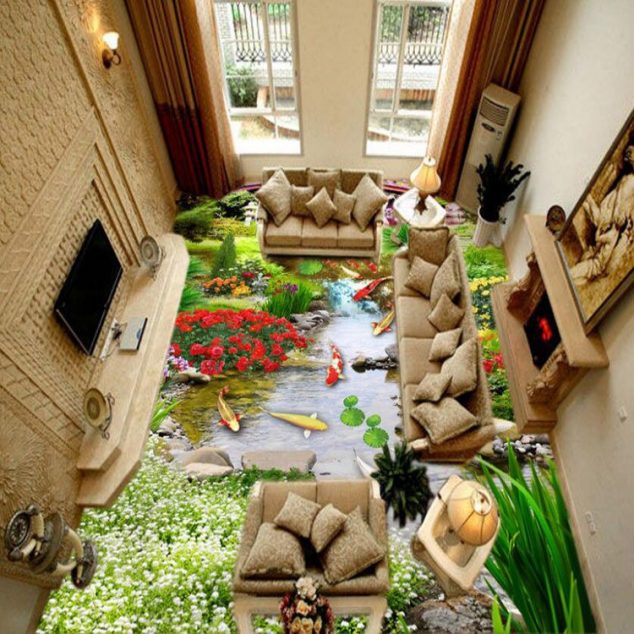
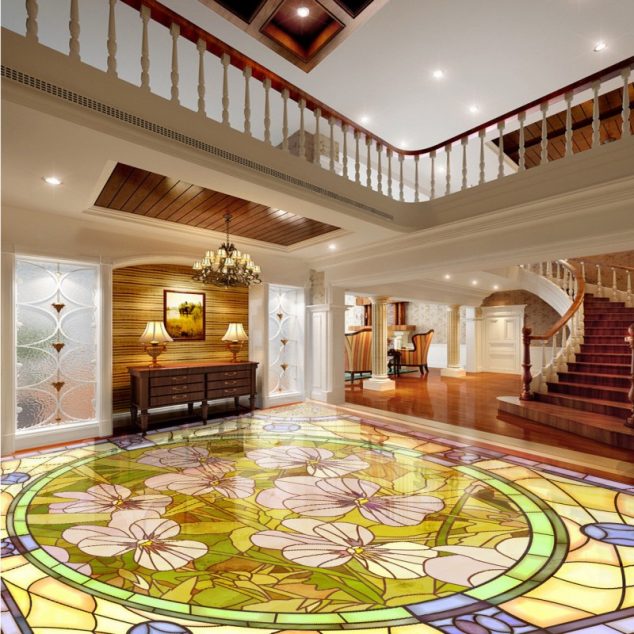
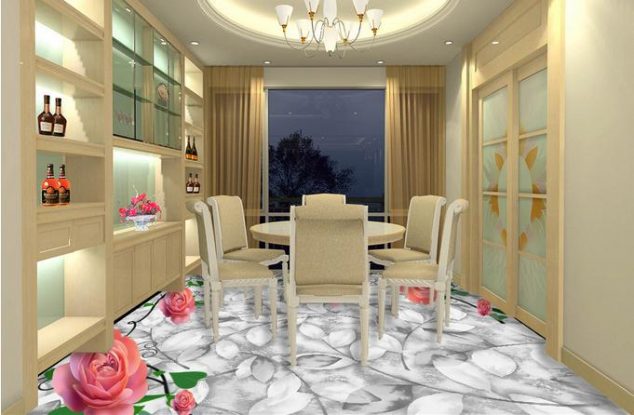
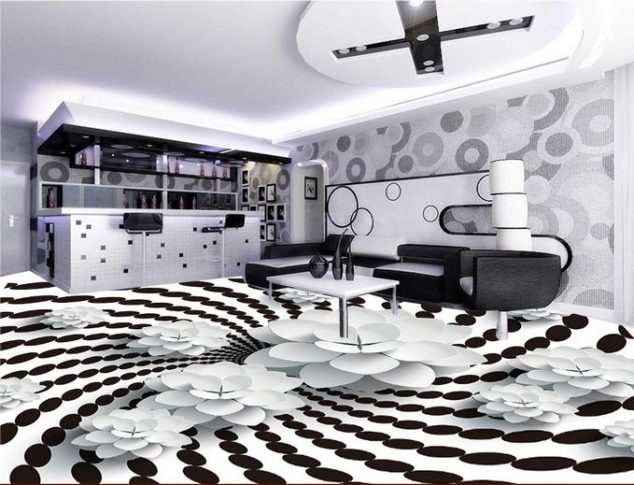
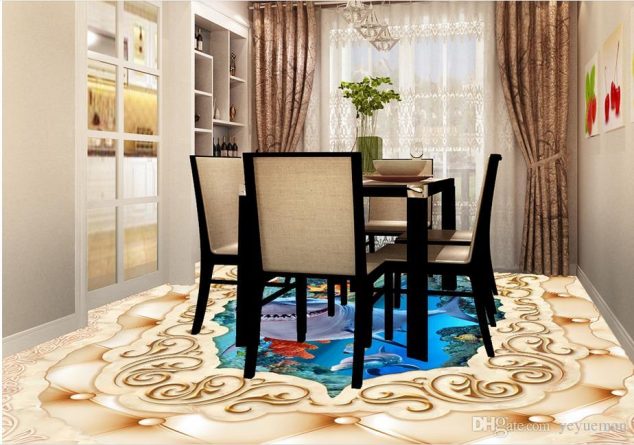
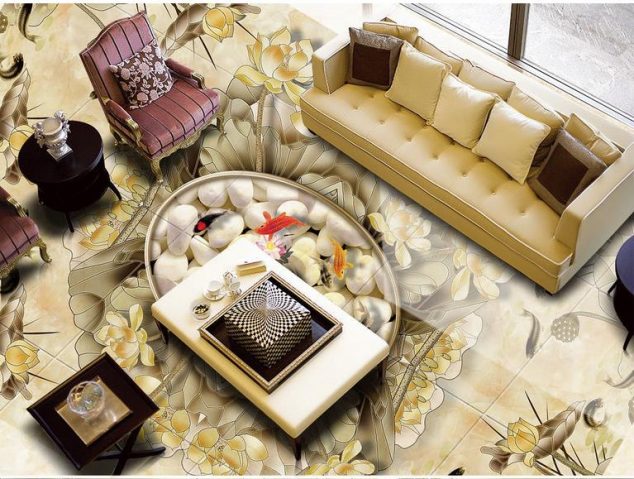
Hi friends. This is very informative article. We are going to tell you the five stages that you will need to pass when adding epoxy 3D floor in your house. This article is exactly about living room epoxy floor. Take a look in 15 lovely 3D epoxy floor for spectacular living room.
These are five steps about adding 3D epoxy flooring in your house:
The first step: First of all you need to know that for this process are needed 7 to ten days. To create the Special 3D designs you want.At first, select a mural image that has the 3D floor designs you want. It can be a photo or painting which make a 3D effect.
The second step: Adapting the picture to suit your floor just the way you want it in reality.If you experience difficulties in preparing the 3D flooring design picture, refer to any designer friend, or find a freelance designer.
The third step: Printing the image. Just be sure to print at first the same image of the 3D flooring design, but on plain paper, black and white – to put on the floor and assess the angle distortion. If needed, adjust the perspective. And only then you will pay for the main image of the 3D flooring murals you will use.
The fourth step: This steps means preparing the base layer.
The last step(5 step): – Finishing coat. To use the suitable coating for the coverage, I recommend the polyurethane Aqua Top which is the most stable of all known, and therefore your floor will never fade. You should make two layers under the 3D mural, each layer take around 4 hours to dry. Use a special glue to paste the photo on the surface to make a 3D bathroom flooring and then use an abrasion-resistant coating. If you are not ready to do this, call someone to help you. it’s not that simple as it looks like.
These are all five steps that you need to know when adding epoxy floor in your house. I am sure that I succeed to inspire you. Thank you for your attention, keep following us in the future!!!
